
Introduction
Setting up a VPN on your server can be complex and expensive. However, a simpler and cost-effective solution exists using SSH tunneling, also known as a “Poor Man’s VPN.” This setup is perfect for secure browsing or accessing restricted networks. Here’s how to configure it on MacOS/Linux and Windows.
Configuring SSH Tunneling on MacOS and Linux
Step 1: Install Proxychains4
First, install Proxychains4, which allows you to route your traffic through proxy servers. You’ll need gcc and make installed on your machine to compile Proxychains4.
./configure --prefix=/usr --sysconfdir=/etc
make
[optional] sudo make install
[optional] sudo make install-config # Installs proxychains.conf
Step 2: Modify Proxychains Configuration
Edit the Proxychains configuration file to use a SOCKS5 proxy:
# Edit /etc/proxychains.conf
# Comment out the default SOCKS4 proxy
# Add the following line for SOCKS5
socks5 127.0.0.1 1080
Step 3: Create SSH Tunnel
Establish an SSH tunnel that will act as your SOCKS server:
ssh -f -N -D 1080 admin@server1.example.com
Step 4: Verify the Proxy
Check if the proxy is working correctly:
curl -I twitter.com
Step 5: Script for Connection Management
Use a bash script to easily connect and disconnect from your SSH tunnel:
#!/bin/sh
# This script toggles the SSH tunnel and SOCKS proxy on and off
NET_SERVICE="Wi-Fi"
PORT=1080
SERVER=admin@server1.example.com
PID=$(pgrep -f ${PORT})
if [ "$EUID" -ne 0 ]
  then echo "Please run as root!"
  exit
fi
if pgrep -f ${PORT} >/dev/null
then
  echo "Disconnecting..."
  kill -9 $PID
else
  echo "Connecting..."
  ssh -D ${PORT} -f -C -q -N ${SERVER}
  networksetup -setsocksfirewallproxy ${NET_SERVICE} 127.0.0.1 ${PORT}
  networksetup -setsocksfirewallproxystate ${NET_SERVICE} on
  echo "Connected to server. SOCKS proxy is active."
fi
Configuring SSH Tunneling on Windows
Step 1: Install Bitvise and Proxifier
For Windows users, install Bitvise and Proxifier to manage your SSH tunnel and route applications through it.
- Download and install Bitvise SSH Client.
- Download and install Proxifier.
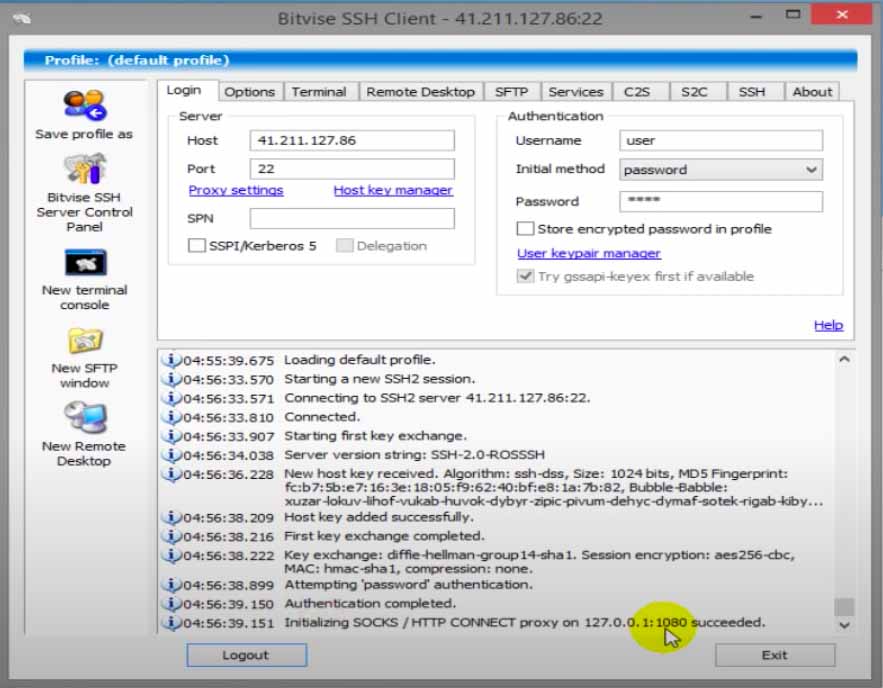
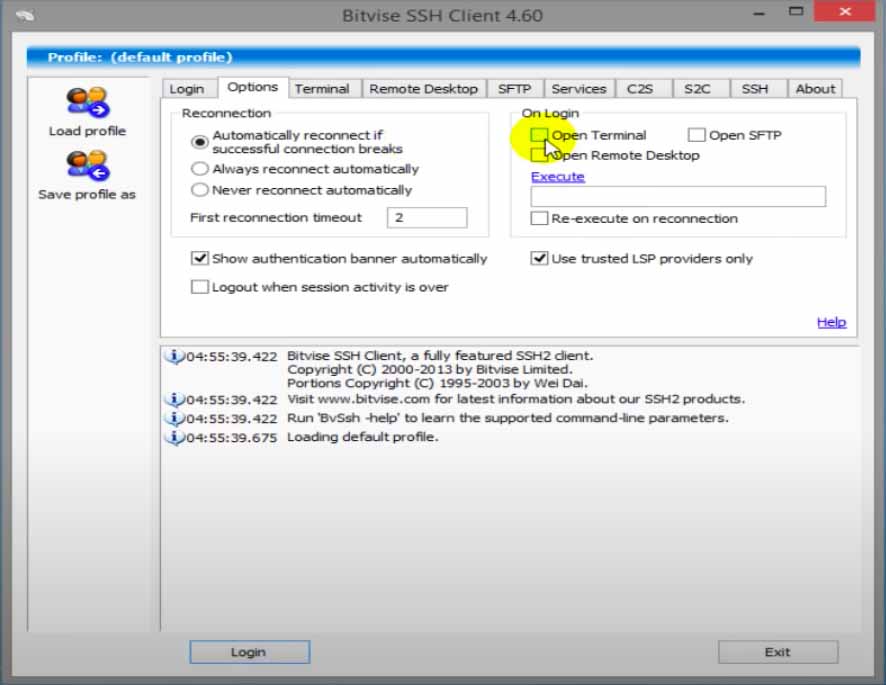
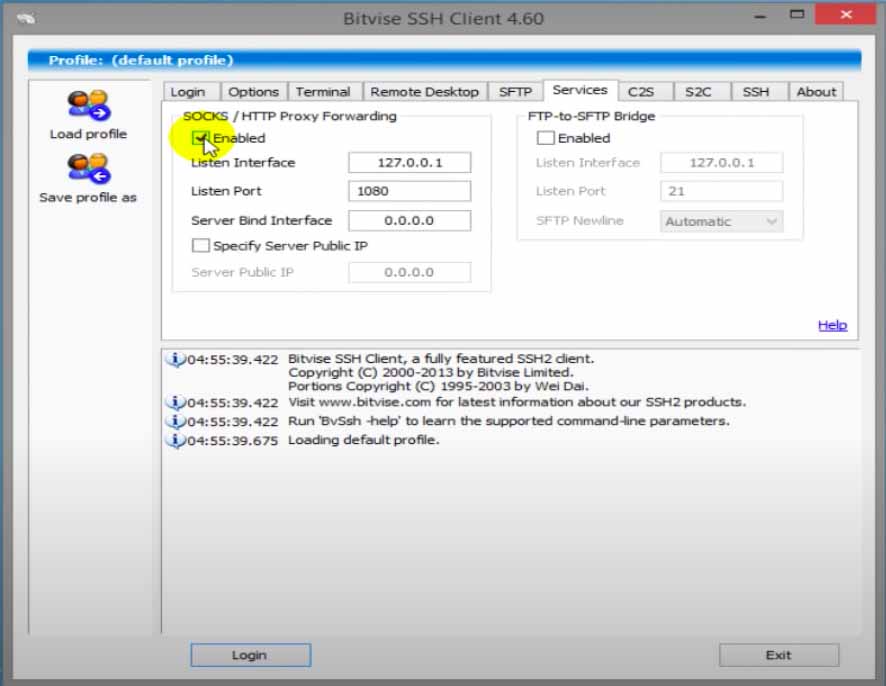
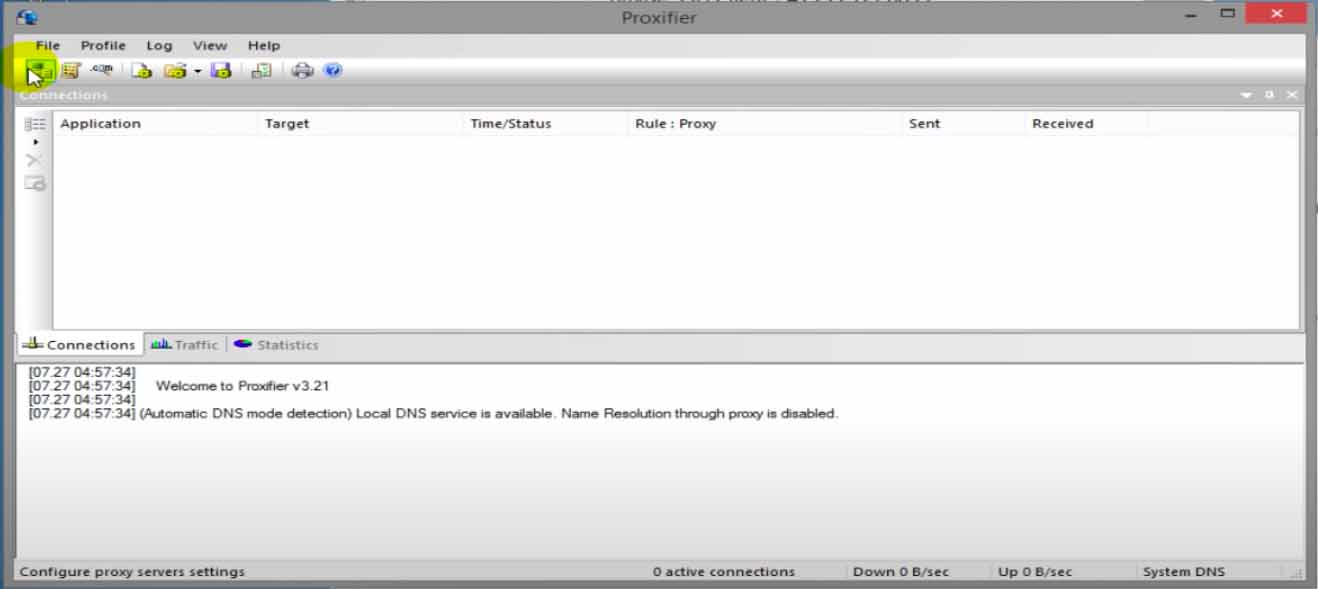
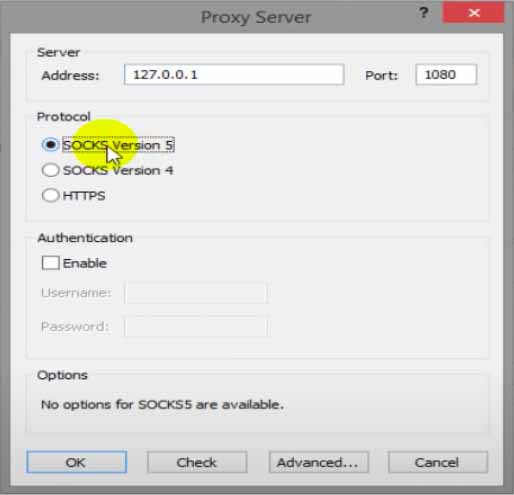
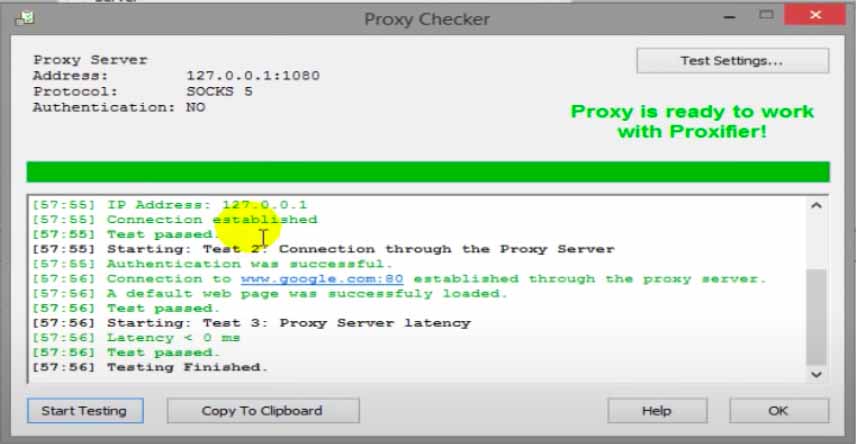
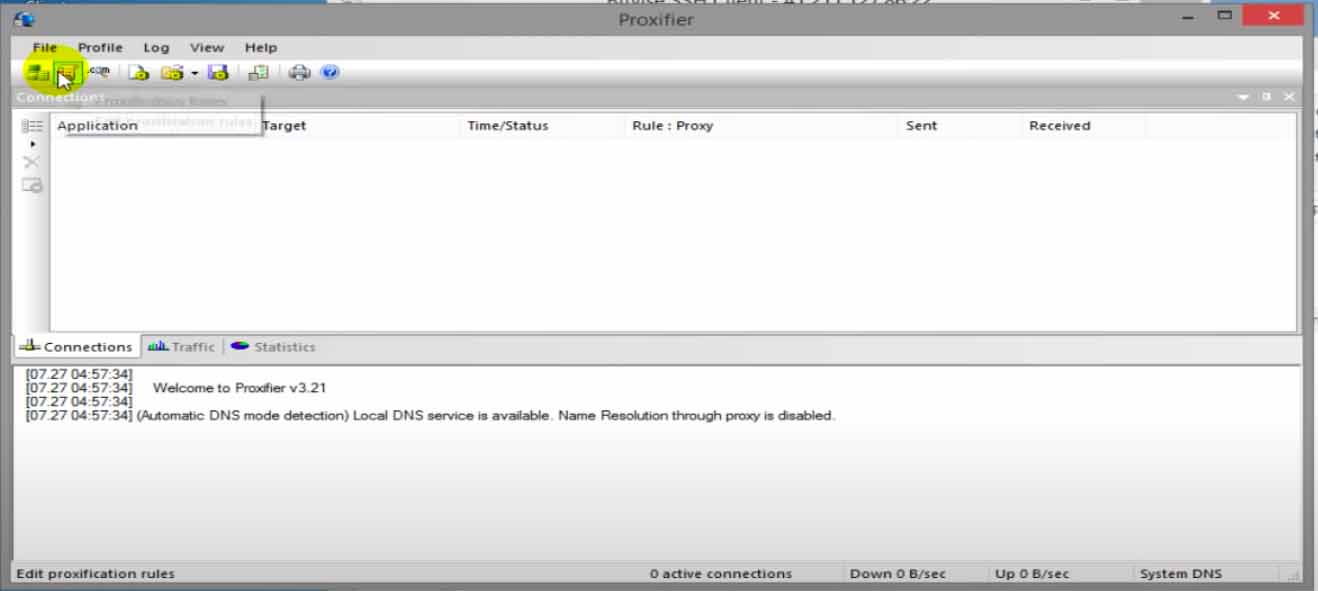
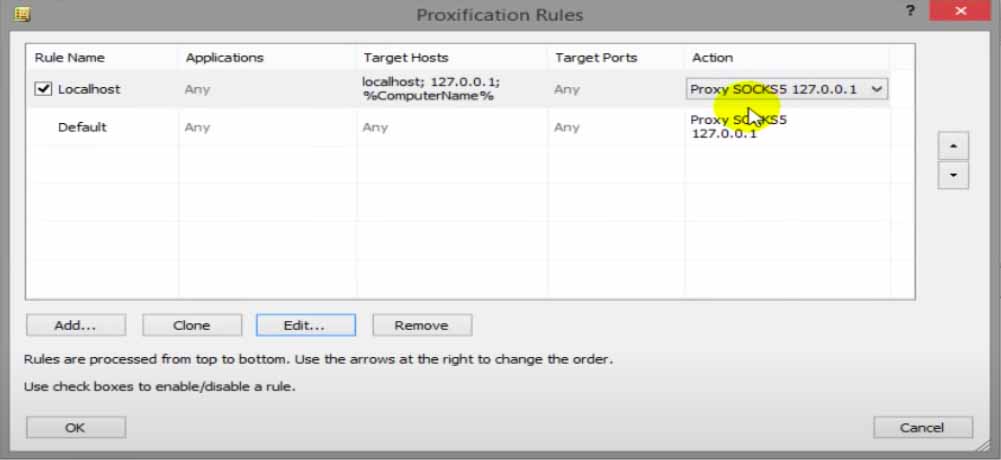
Step 2: Configure Bitvise and Proxifier
Follow the setup guides provided in the images to configure Bitvise for the SSH connection and Proxifier to manage your application traffic through the SSH tunnel.

By following these steps, you can effectively create a secure, private network connection using SSH tunneling, providing a budget-friendly alternative to traditional VPN services.